SAP GUI Installation & Configuration Guide
SAP GUI is the graphical user interface client which allows users to access the SAP Server remotely over a network. It is supported by operating systems like Microsoft Windows, Apple, Macintosh, UNIX etc.
Steps to Install SAP GUI
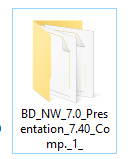
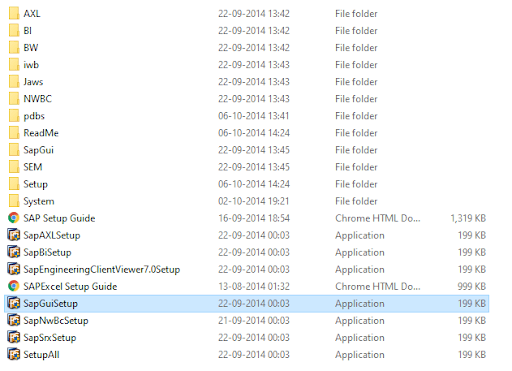
Double Click on SAP Gui Setup Folder to open it
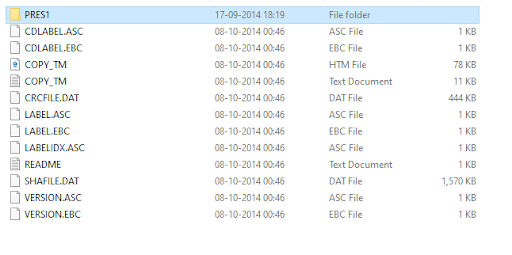
Select (PRES1) and Enter
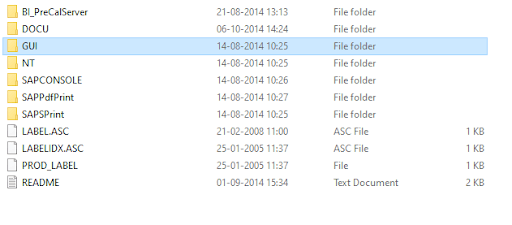
Select (GUI) and Enter
Select (WINDOWS) and Enter

Select (WIN32) and Enter

Select / Open (SapGuiSetup) to run the SAP Gui Setup
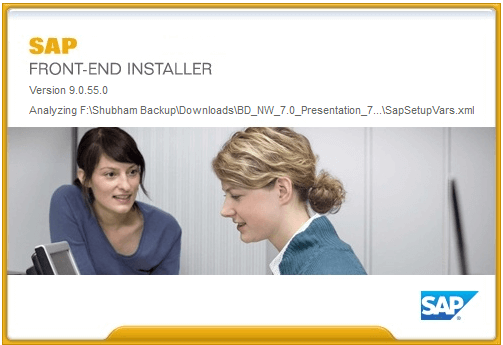
SAP Gui Setup has started
Click Next to Continue

Select All and Click Next

Click Next to Continue

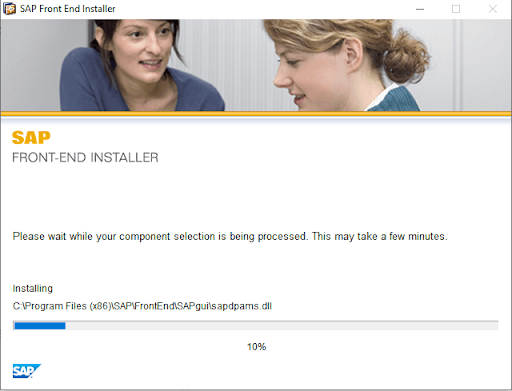
SAP Gui Is Installing (This may take a few minutes)
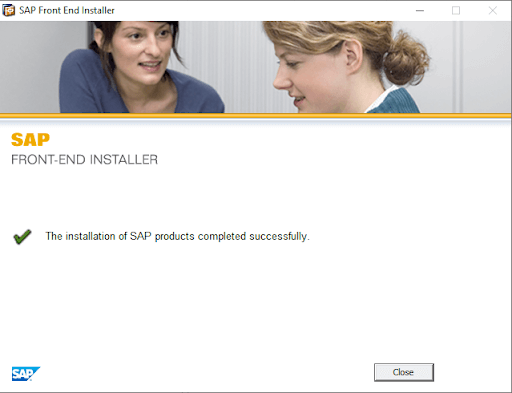
SAP Gui Installation is Completed Successfully
How to Configure SAP GUI
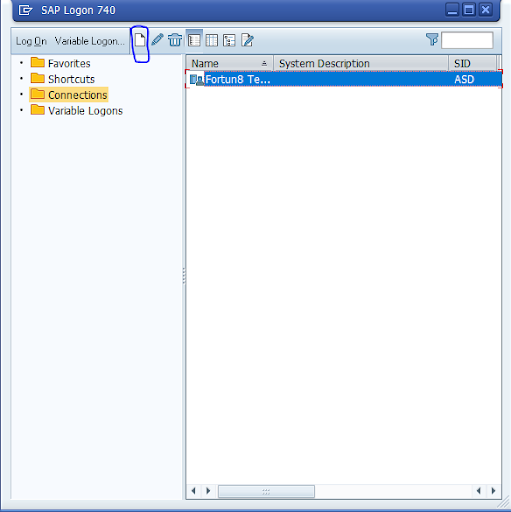
After Installation, double-click SAP GUI shortcut on your desktop

Click on marked icon to create new connection
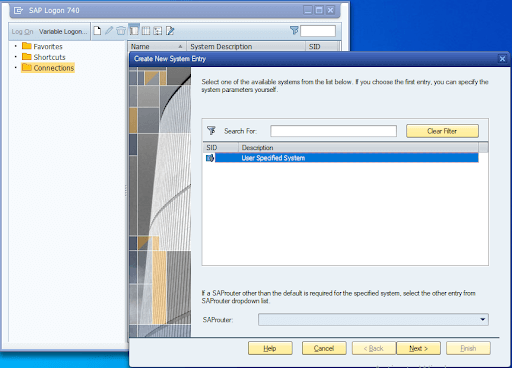
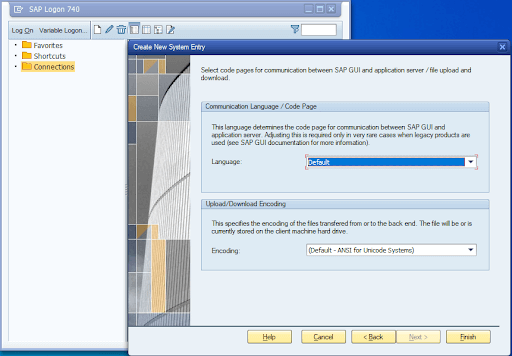
Click Next to Continue
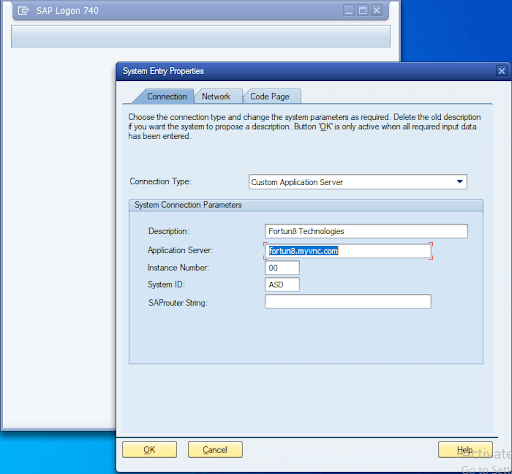
Fill the Server details as below and click OK.
Connection Type: Custom Application Server
Description: Name of instance
Application Server: Hostname/IP address
Instance number: Instance number
System ID: System ID
Click Next to Continue
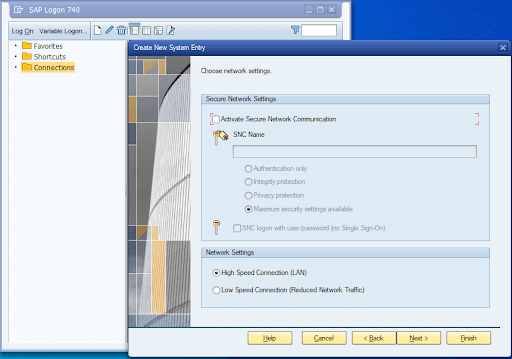
Click Finish to complete the configuration
Double click your new connection entry to open it
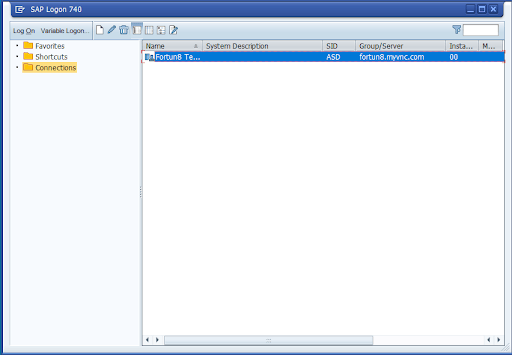
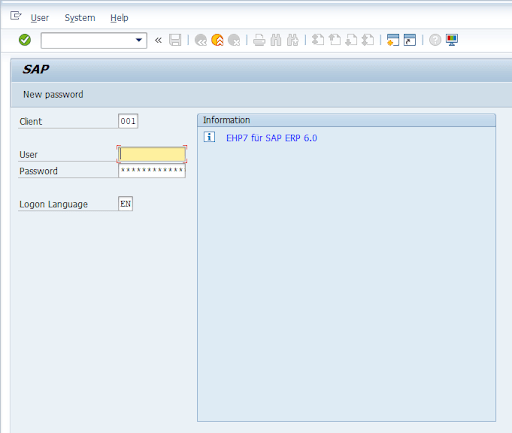
Your SAP Logon Screen will appear; enter username and password to login